
Step-by-Step Guide Integrating the Chatbot into Your Website
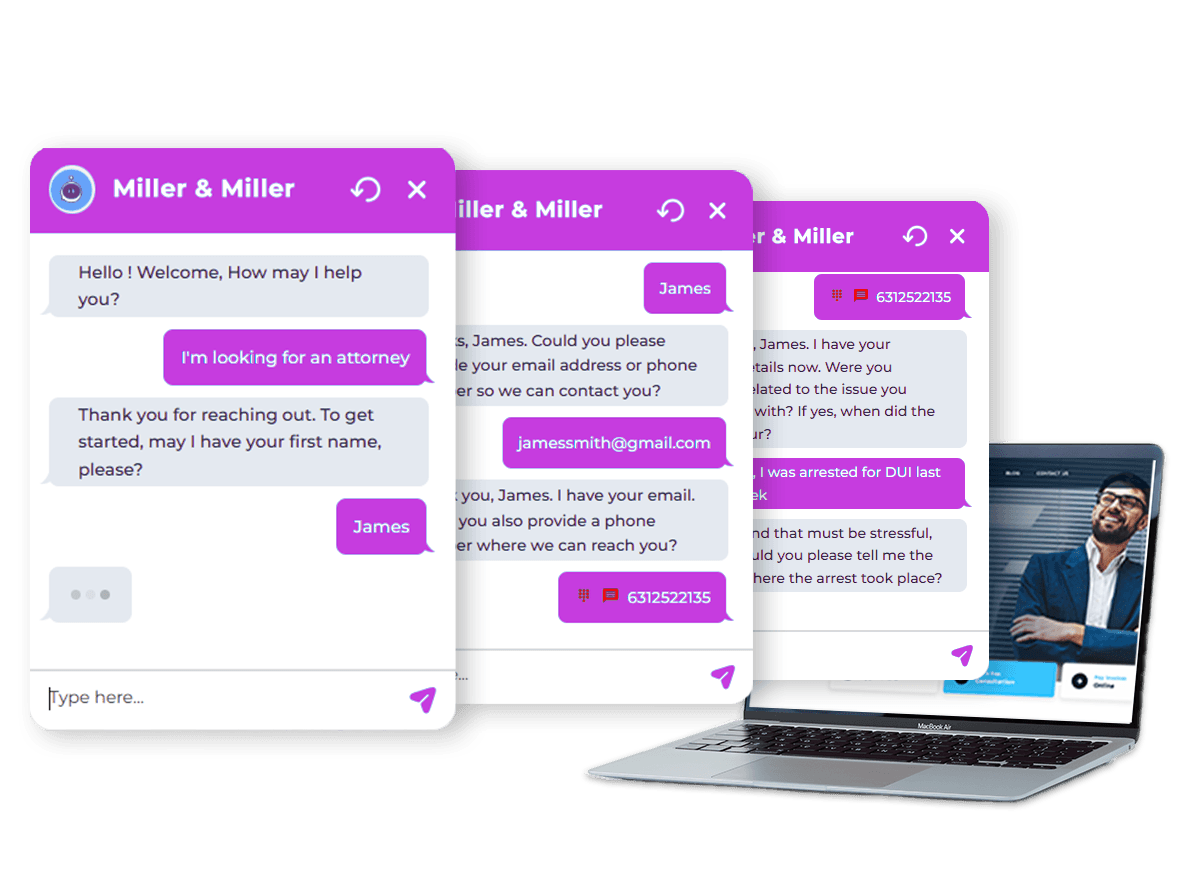
Follow these instructions to implement the chatbot into various platforms. Each section includes clear steps to ensure the widget appears correctly on your site.
⚠️ Important Notice
This guide involves making modifications to your website’s code or configuration files. It is intended for users with a basic understanding of web development, including familiarity with platforms such as Next.js, React.js, Gatsby, WordPress, and HTML/CSS/JavaScript.
Before proceeding:
• Ensure you have the necessary permissions to edit your website’s code.
• Back up your website files and database (if applicable) to prevent data loss in case of errors.
• If you’re unsure about any step, consult with a developer or technical expert to avoid potential issues.
By following this guide, you acknowledge that you are responsible for any changes made to your website.
⚠️ Script Disclaimer
The script provided in this guide is for reference purposes only. Each user must replace the example script with the unique script URL provided specifically for their chatbot implementation.
Using the incorrect script may result in the chatbot not functioning properly or unexpected behavior on your website.
• Ensure you obtain the correct script
If you are unsure about your script URL, please contact support for assistance.
Index:
VANILLA WEB
HTML, CSS, Javascript
WordPress
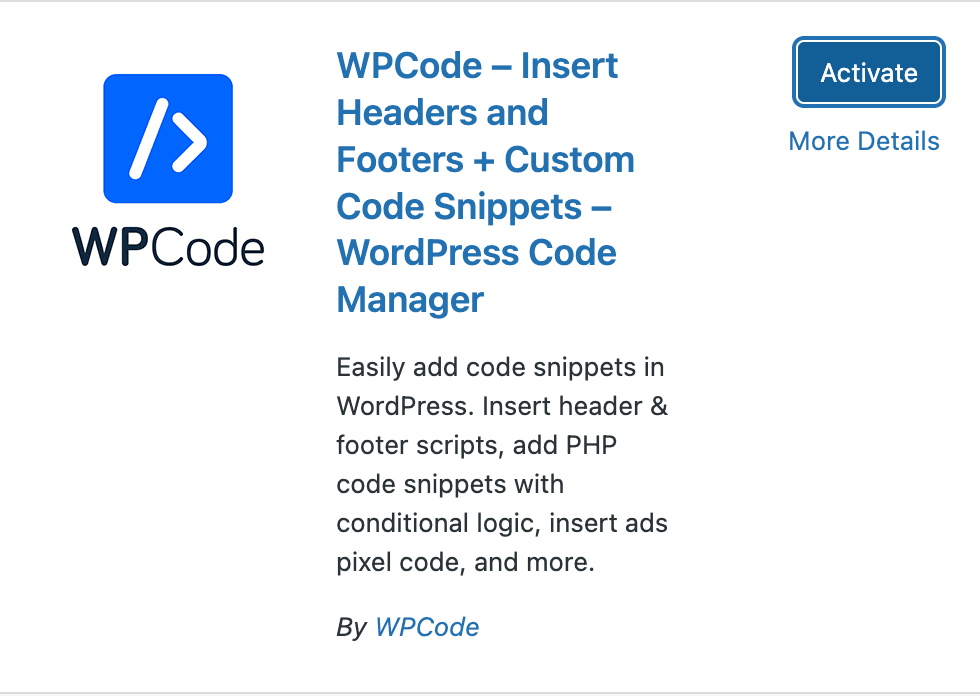
1. Install the Code Snippets Plugin:
• Go to your WordPress Admin Panel.
• Navigate to Plugins > Add New.
• Search for Code Snippets and click Install Now, then Activate.
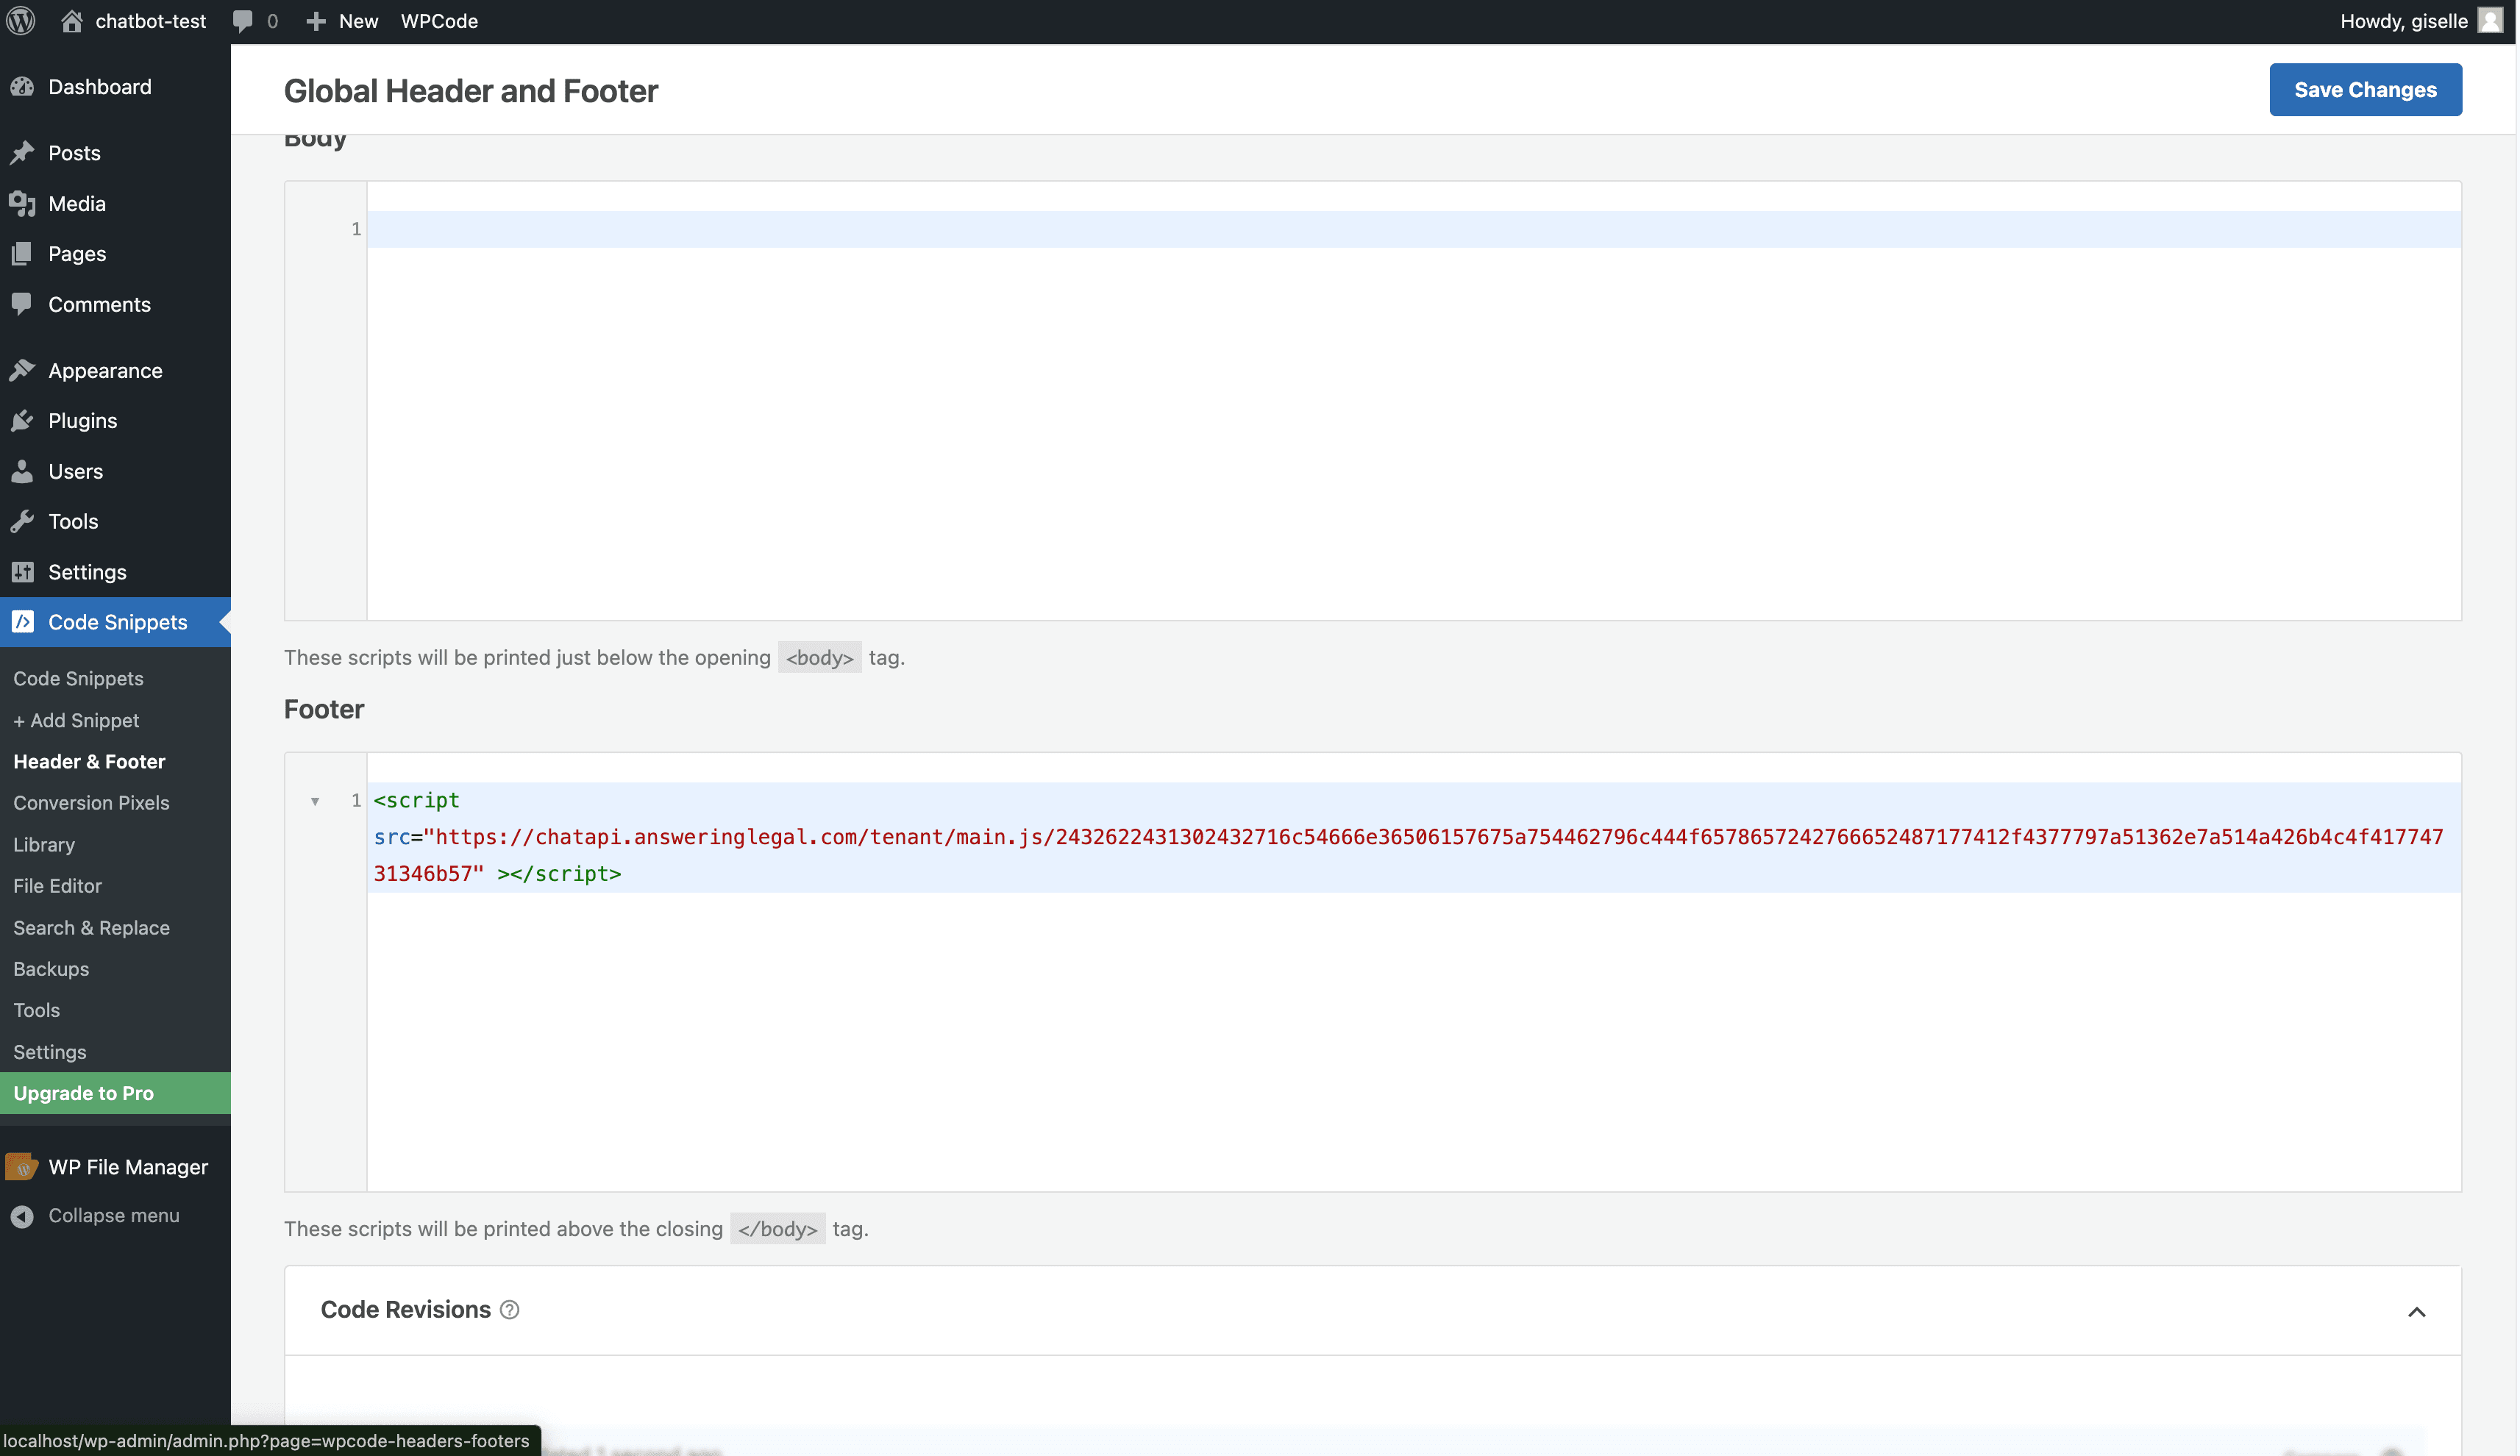
2. Add a New Snippet:
• Go to Header & Footer section inside the plugin
• Enter the script in Footer Section
• Save changes
Wix
1. Go to settings in your site's dashboard.
2. Click Custom Code in the Development & Integrations section.
3. Click + Add Custom Code at the top right.
4. Paste the code snippet in the text box.
5. Enter a name for your code, e.g., "Chatbot".
6. Select "All Pages" option under Add Code to Pages
7. Select Body - end option under Place Code in
8. Click Apply.
Duda
1. In the side panel, click SEO & Settings.
2. Click HEAD HTML.
3. Paste your code on Body end HTML section.
4. Click save

NEXT.JS
1. Add the Script to Your Layout:
• Insert the script tag inside the <head> section of your main layout file (e.g., app/layout.js or pages/_app.js).
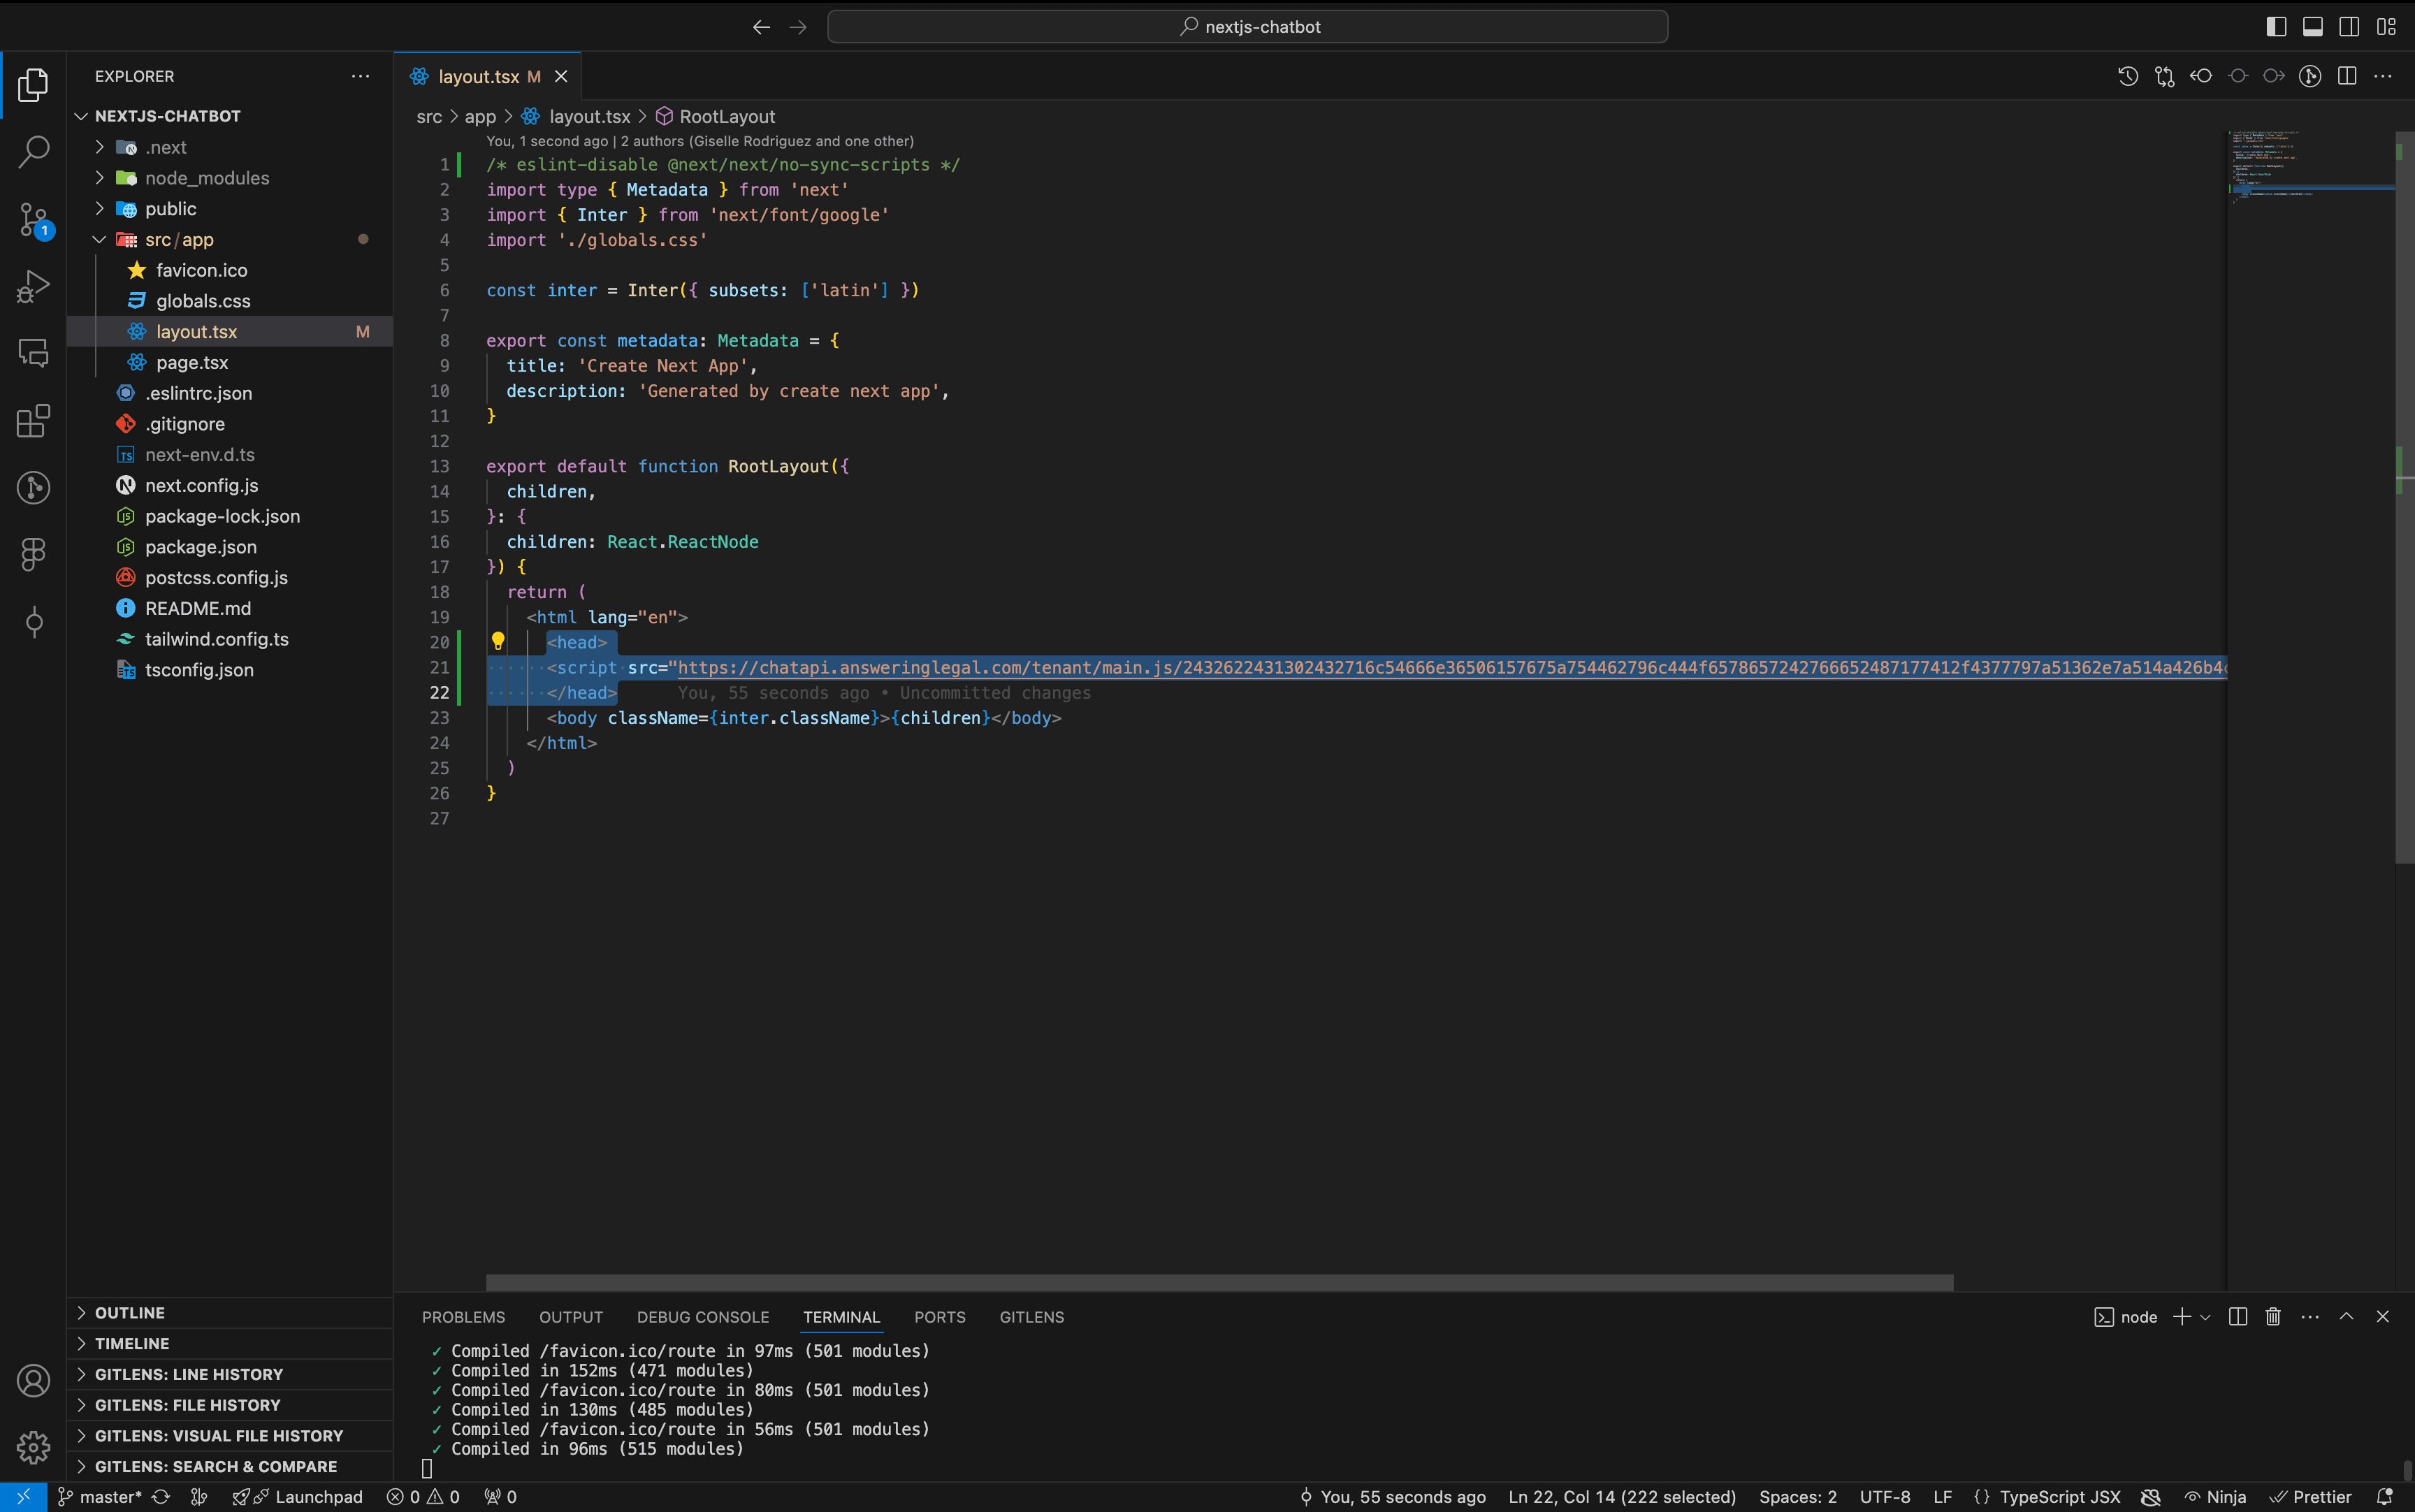
2. Save and Verify:
• Save your changes.
• Open your website in a browser. The chatbot widget should appear in the lower-right corner.
REACT.JS
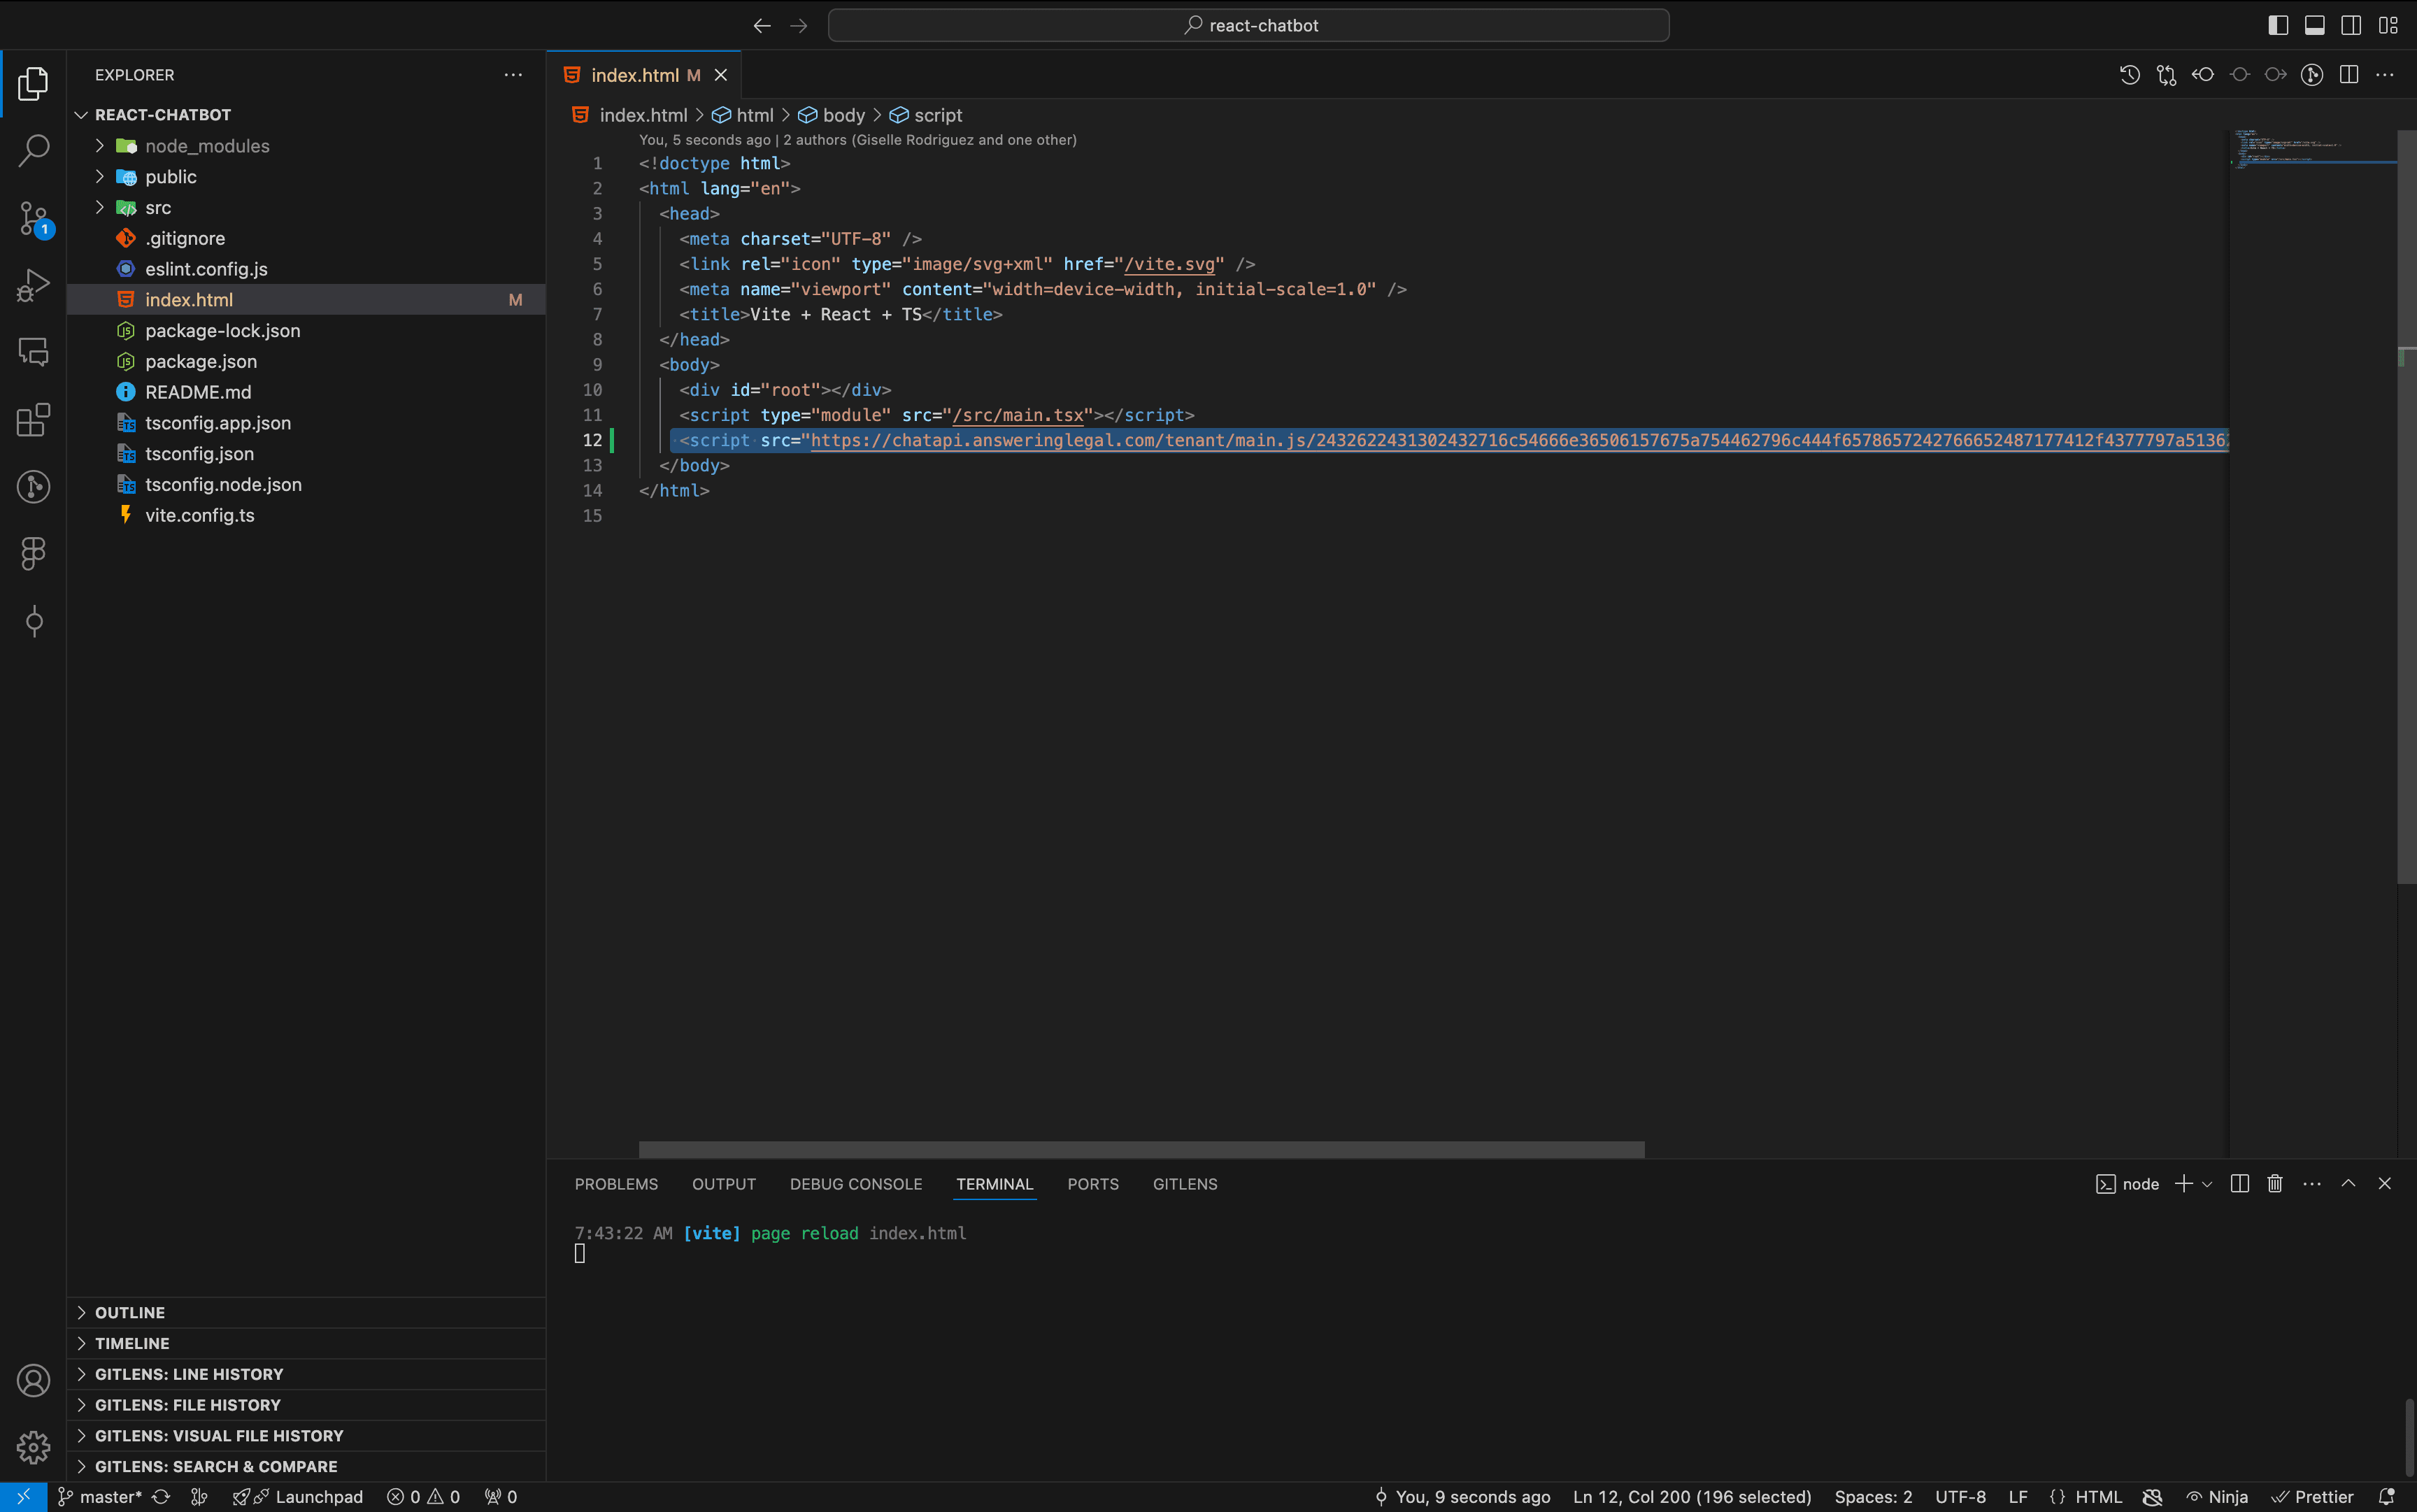
1. Insert the Script:
• Open the index.html file located in the public folder of your React project.
• Add the script tag inside the <head> section:
2. Save and Verify:
• Save your changes and start your development server.
• Open your website in a browser to confirm the chatbot widget appears in the lower-right corner.
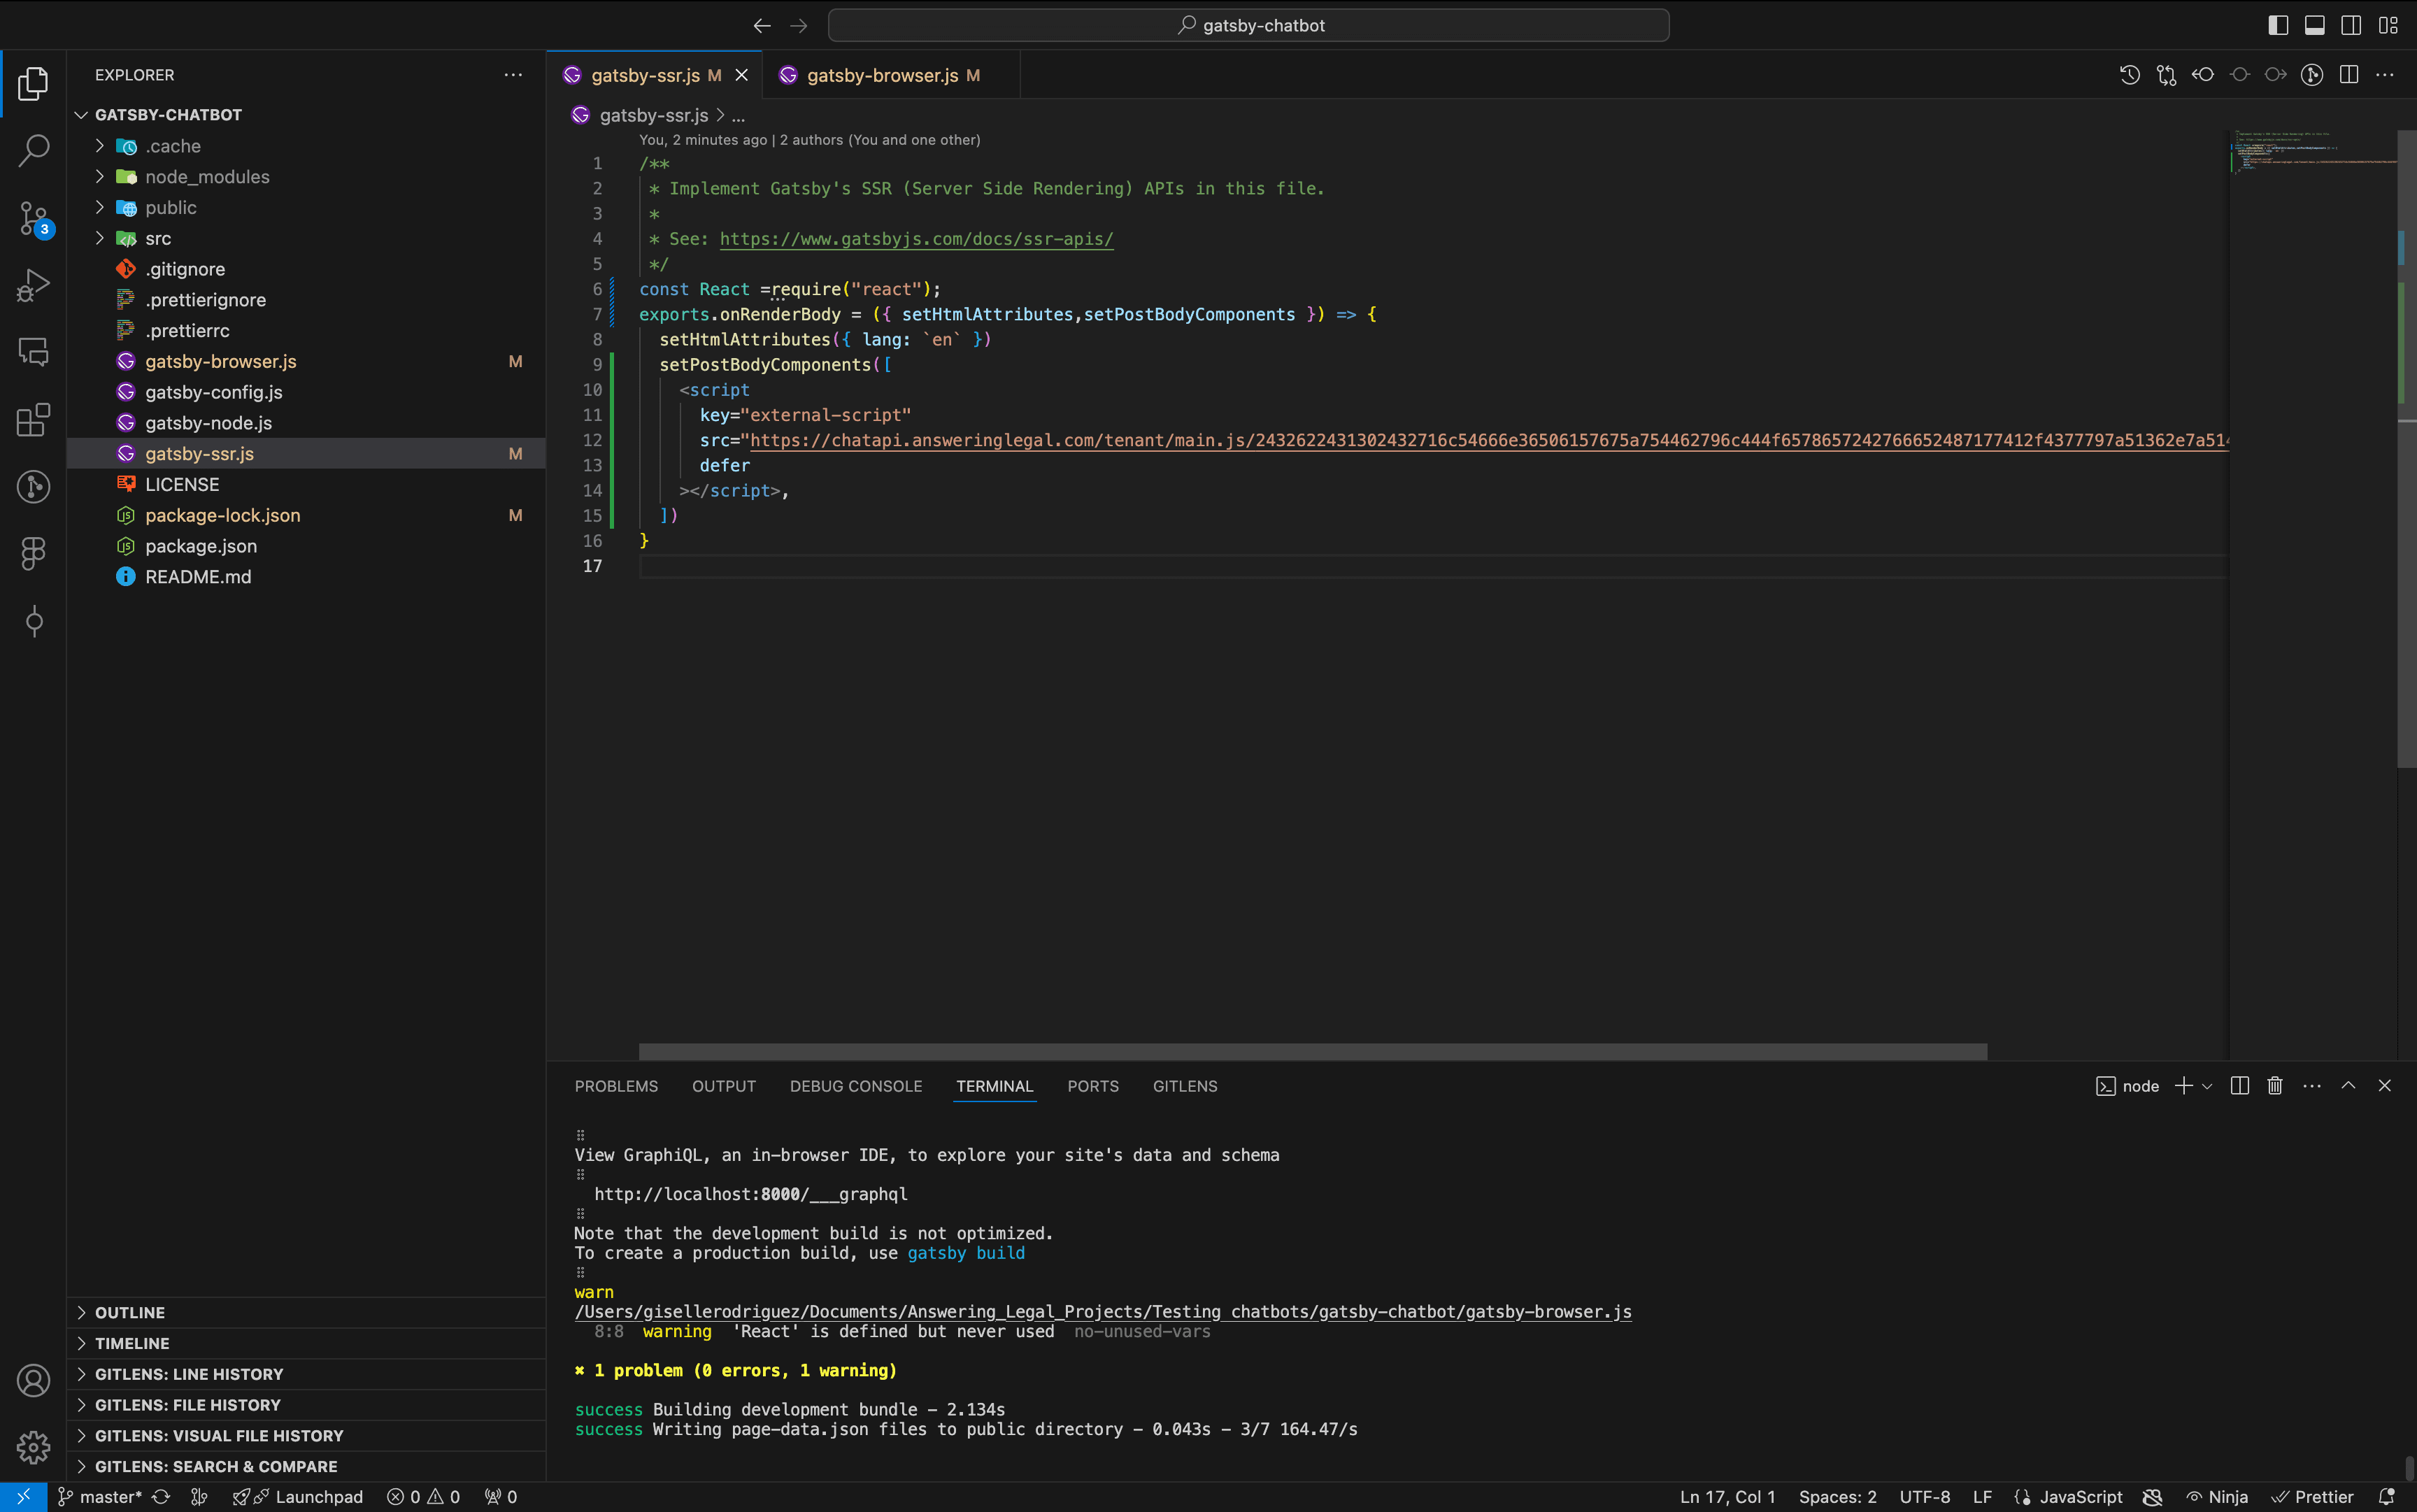
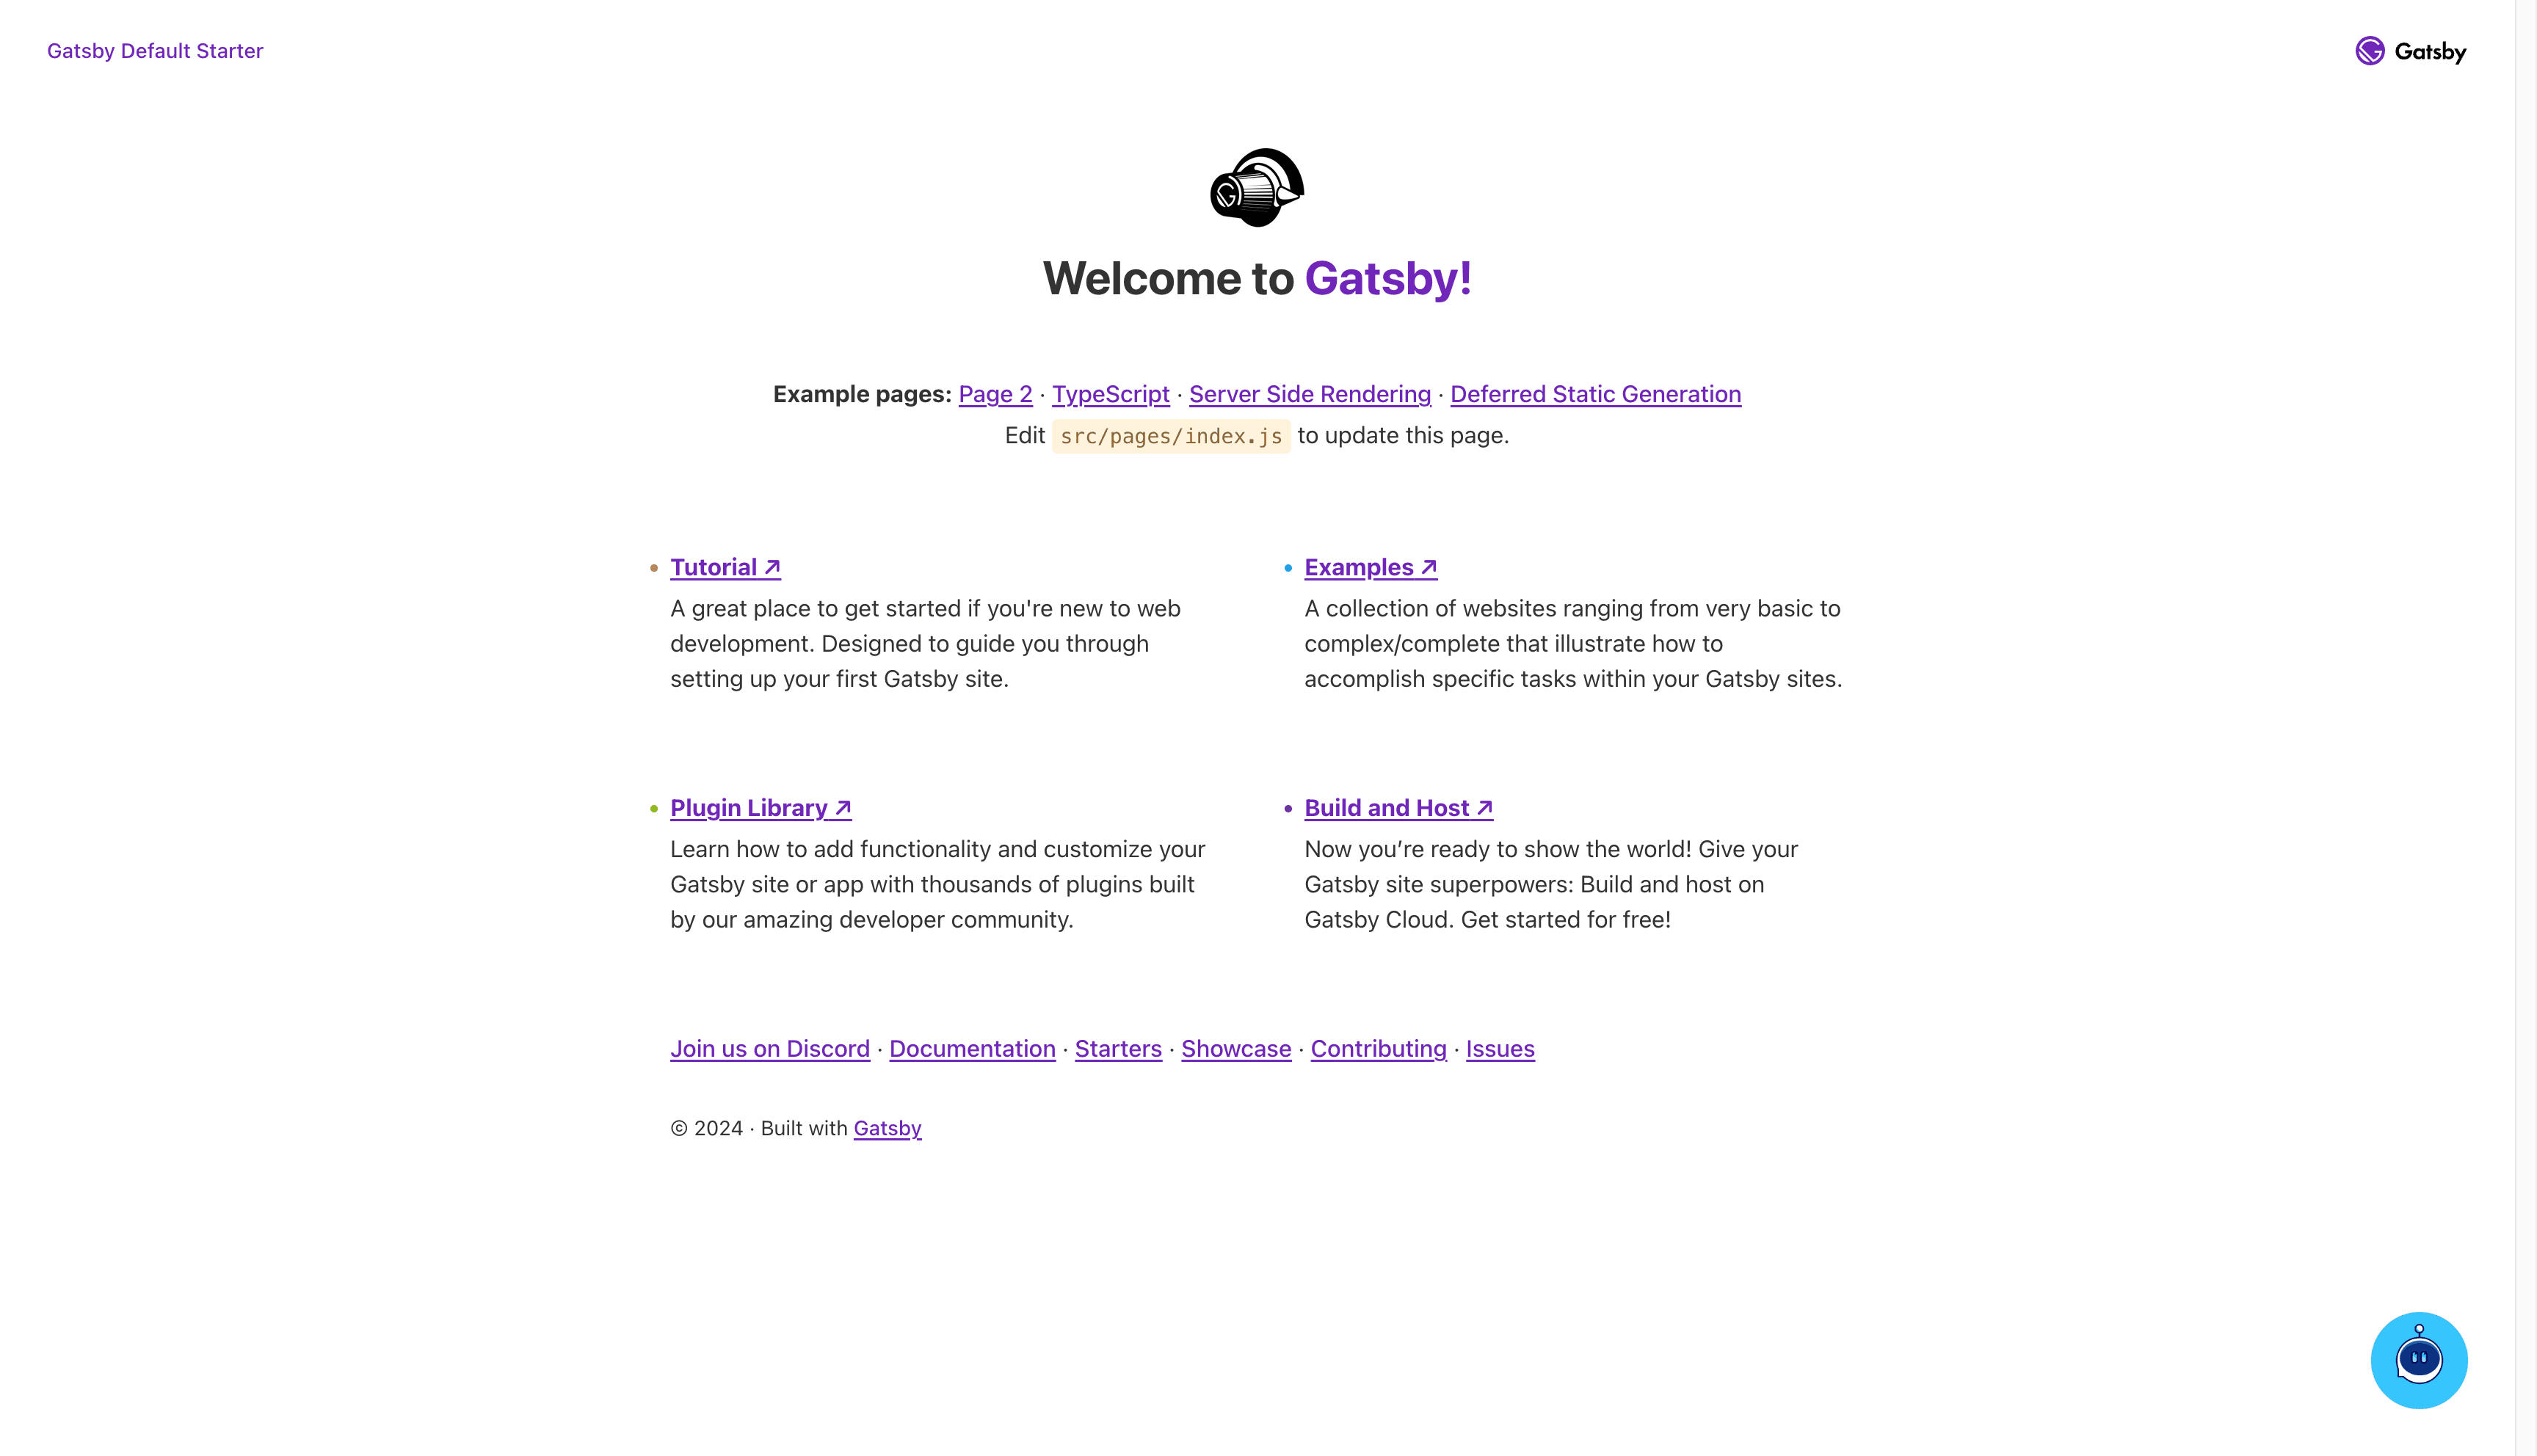
GATSBY
1. Add the Script to Required Files:
• Add the script to both gatsby-ssr.js and gatsby-browser.js files:
gatsby-ssr.js:
gatsby-browser.js:

2. Restart the Server:
• Restart your development server to apply the changes.
3. Verify:
• Open your website in a browser to ensure the chatbot widget appears in the lower-right corner.
HTML, CSS, JavaScript
1. Insert the Script:
• Open your index.html file.
• Add the script tag at the end of the <body> section:
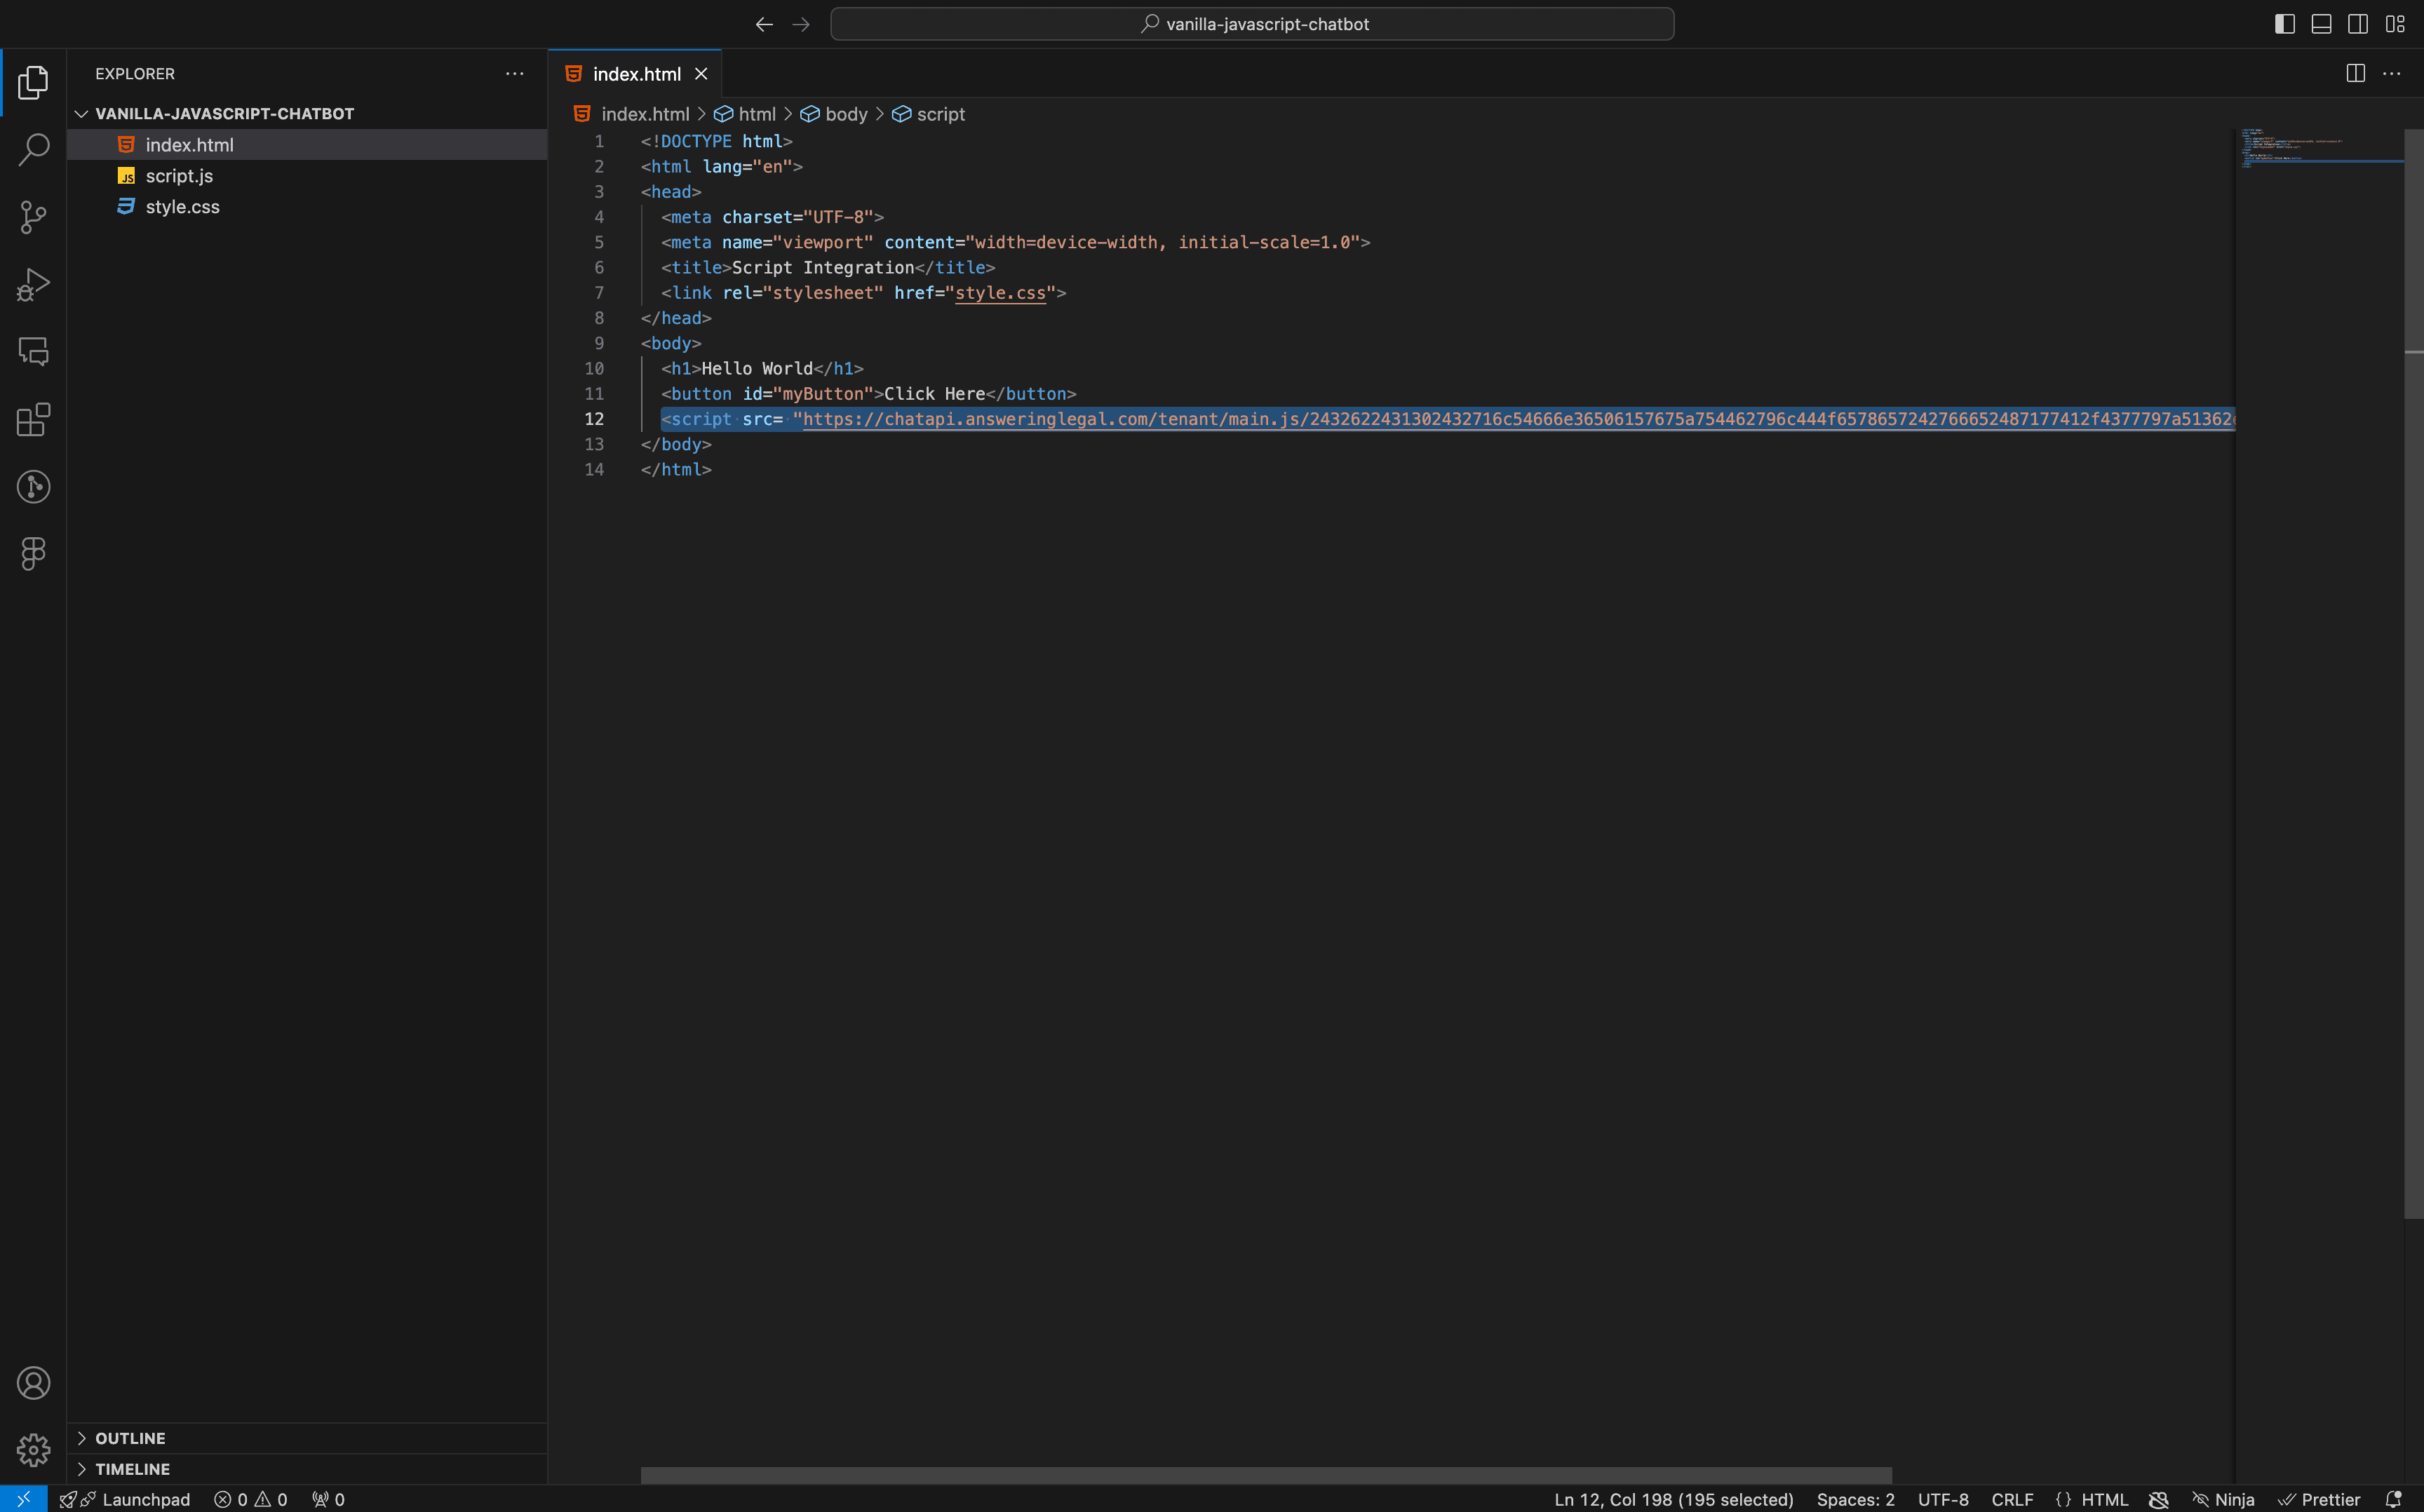
2. Save and Verify:
• Save your changes and load your website in a browser. The chatbot widget should appear in the lower-right corner.
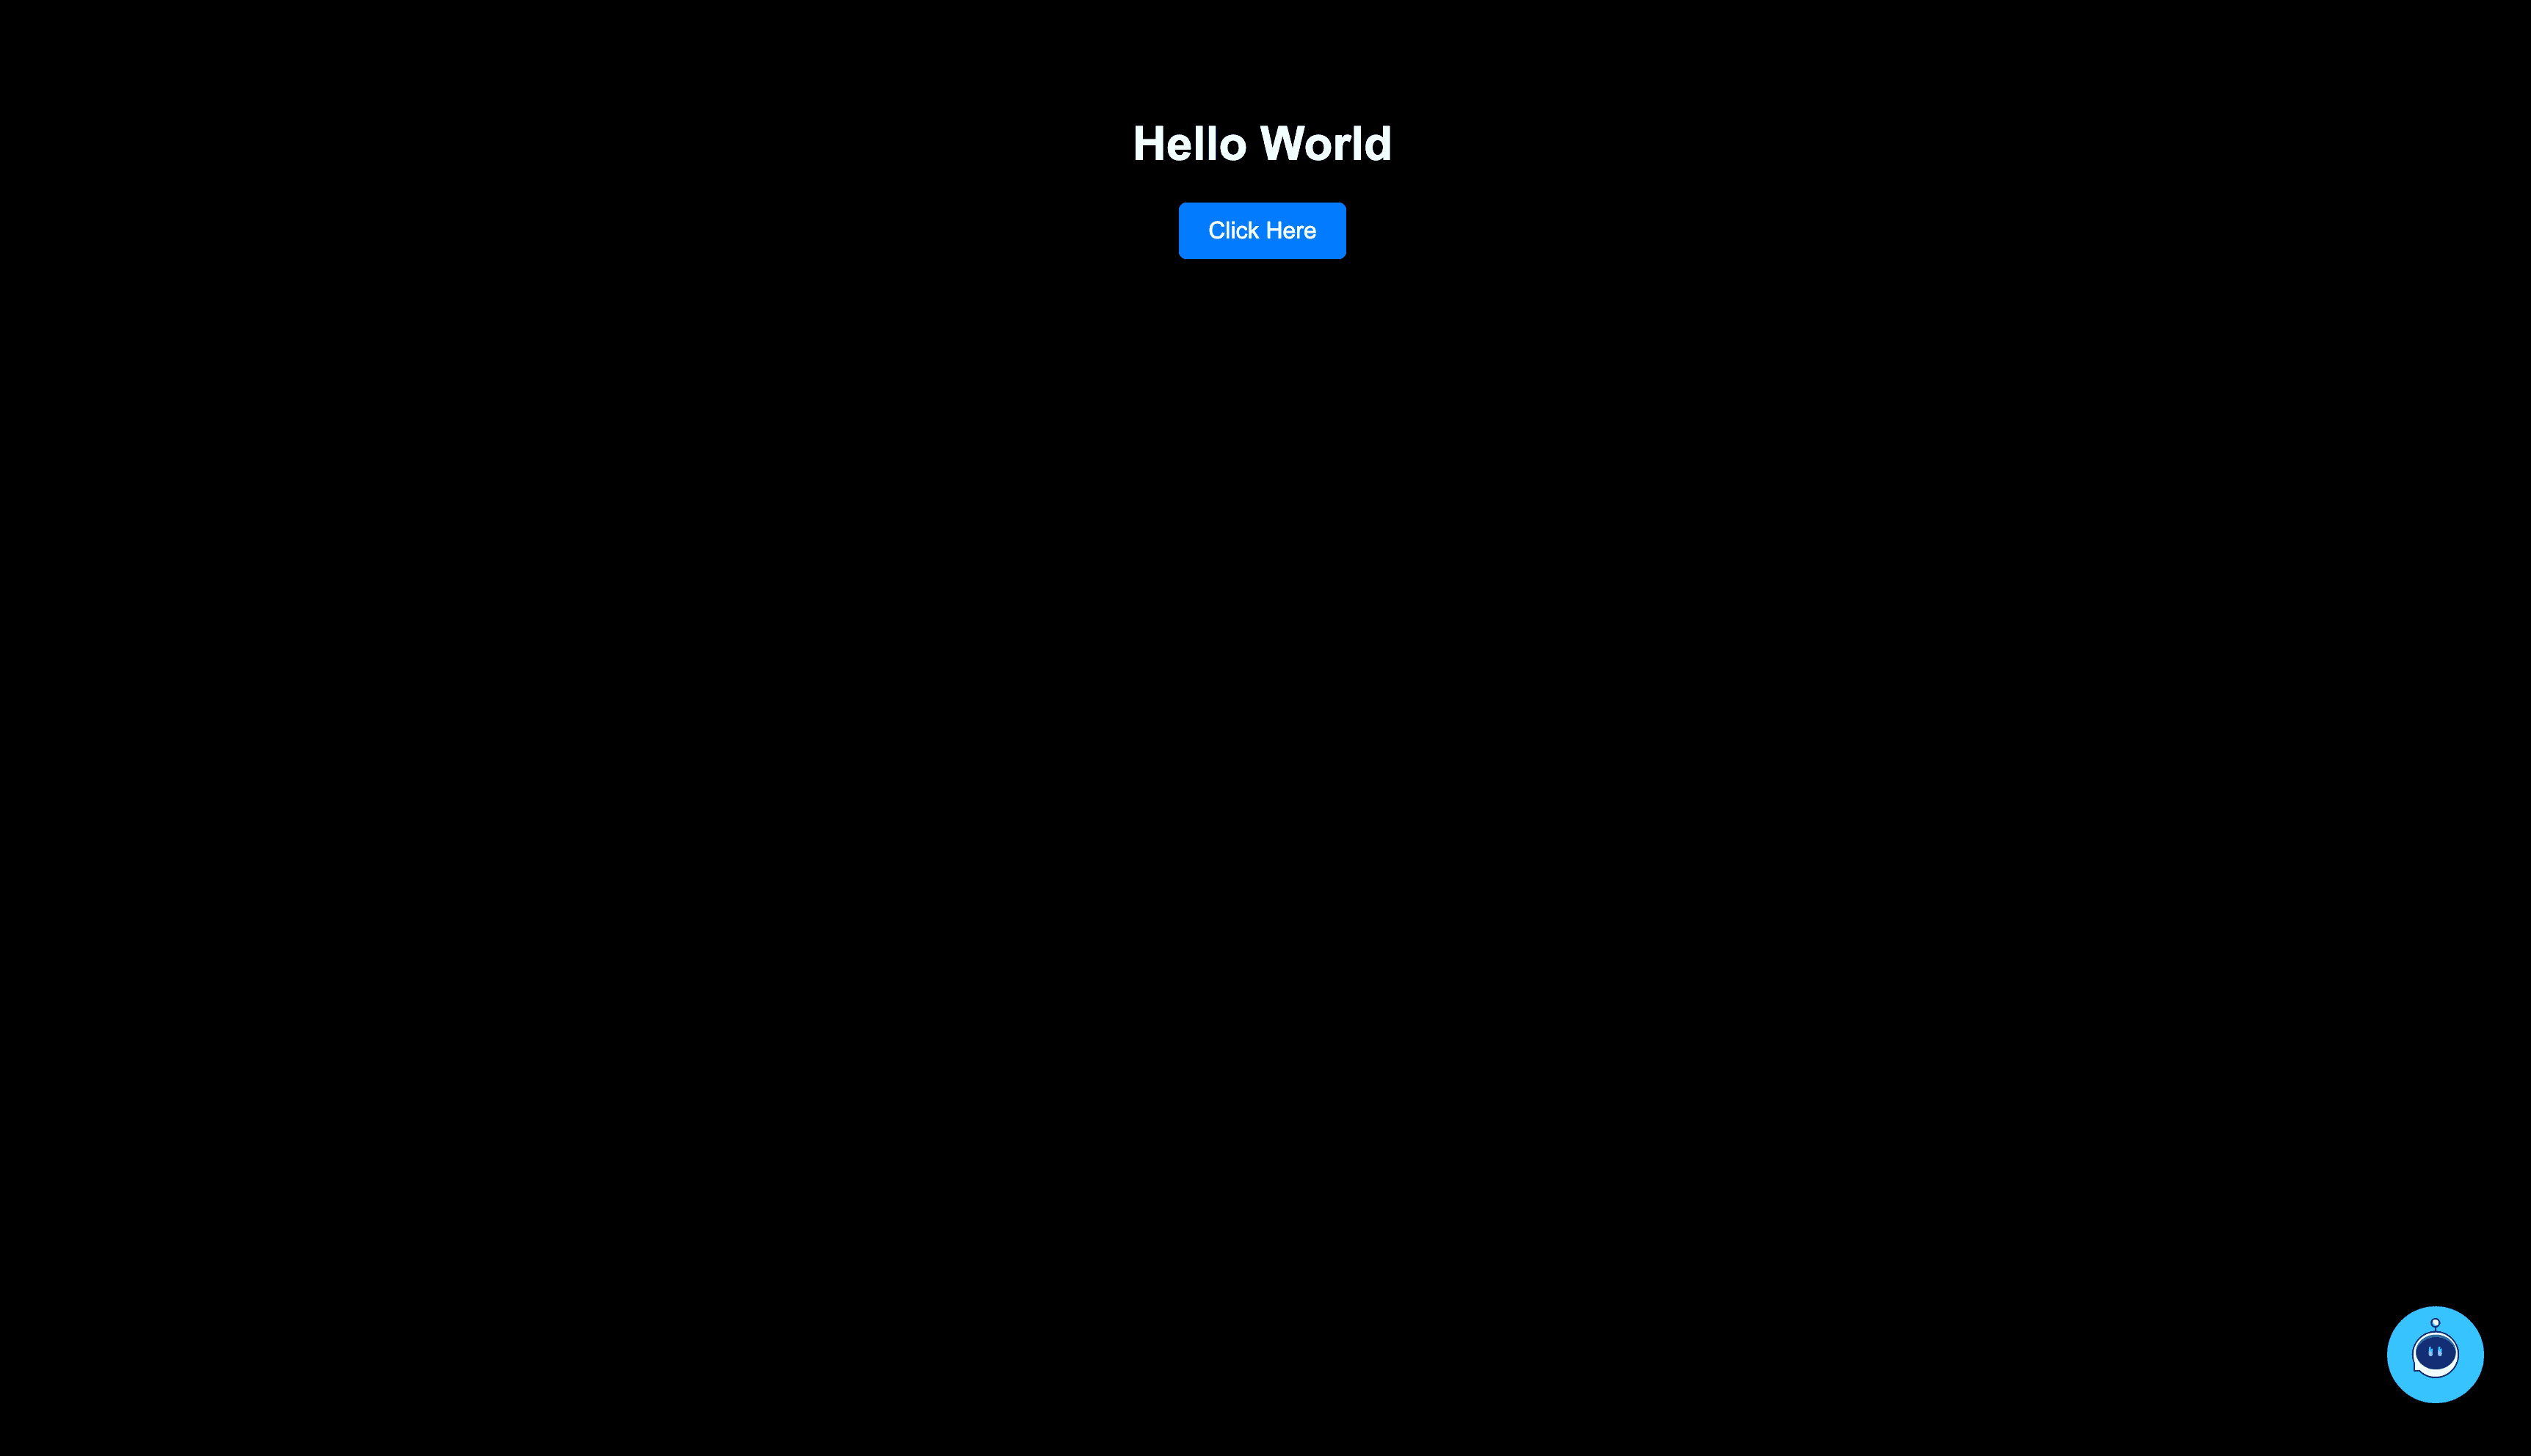
Verification Steps (for All Platforms)
1. Open Your Website:
• Navigate to your website using a browser.
2. Check for the Chatbot Widget:
• Confirm that the chatbot widget appears in the lower-right corner of your site.
This guide includes all necessary steps for implementing the chatbot to your website. Ensure you follow the instructions relevant to your platform and verify after implementation.